Why Is My RV AC Not Blowing Cold Air? Troubleshooting Tips
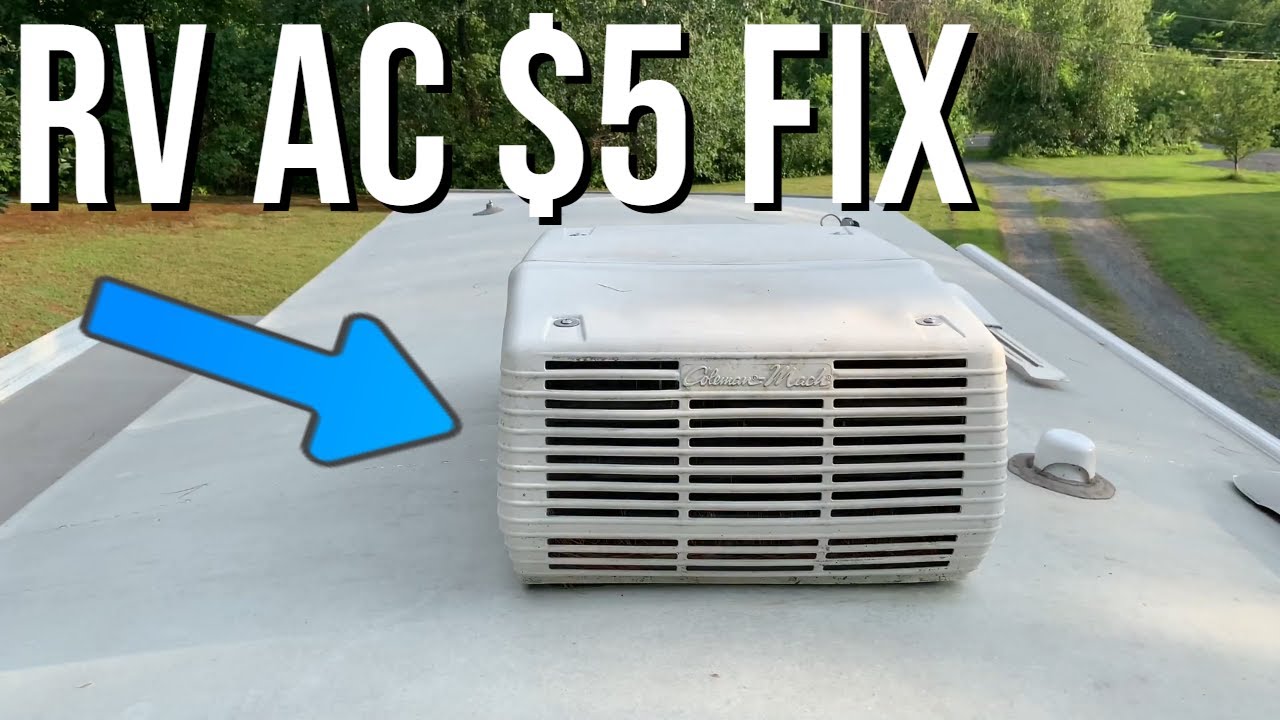
Your RV AC might not be blowing cold air due to a dirty filter or low refrigerant levels. These are common issues that affect performance.
An RV AC that fails to cool can ruin your trip. Understanding the root causes helps in quick troubleshooting. Often, a clogged filter restricts airflow, leading to poor cooling. Low refrigerant levels can also be a culprit, affecting the unit’s efficiency.
Regular maintenance and timely inspections can prevent these issues. Check for visible dirt on the filter and clean or replace it as needed. If refrigerant levels are low, a professional recharge might be necessary. Addressing these problems ensures a comfortable and cool RV experience.
Common Issues
Experiencing issues with your RV AC can be frustrating. Understanding the common issues can help you troubleshoot effectively. Below are some reasons your RV AC might not be blowing cold air.
Thermostat Problems
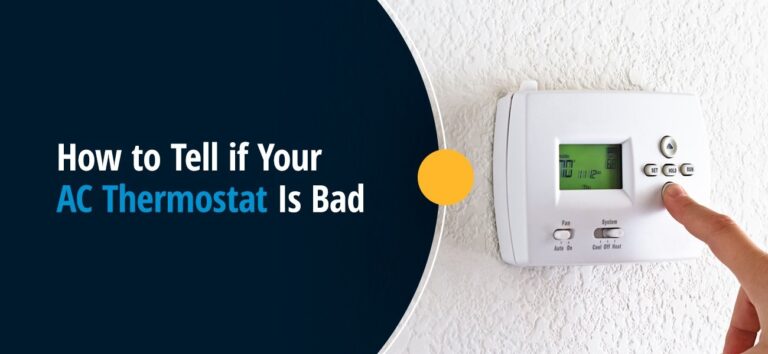
The thermostat is crucial for controlling the AC. If it’s not working, the AC can’t regulate temperature. The thermostat could be set incorrectly or be faulty. Check the settings first. Ensure it’s on the cooling mode and set to a lower temperature. If that doesn’t work, you might need to replace the thermostat.
Low Refrigerant Levels
Refrigerant is vital for cooling. Low levels mean the AC can’t cool the air. Over time, refrigerant can leak. Check for leaks in the system. You might see oil stains or hear hissing sounds. If you suspect a leak, contact a professional. They can refill the refrigerant and fix any leaks.
| Common Issue | Possible Cause | Solution |
|---|---|---|
| Thermostat Problems | Incorrect settings, faulty thermostat | Check settings, replace thermostat |
| Low Refrigerant Levels | Leak in the system | Check for leaks, refill refrigerant |
Understanding these common issues can help you maintain your RV AC. Regular checks can prevent most problems.
Airflow Blockages
Are you wondering why your RV AC is not blowing cold air? One common reason is airflow blockages. Airflow blockages can significantly impact the efficiency of your AC unit. Here, we will explore two major culprits: clogged filters and obstructed vents.
Clogged Filters
Clogged filters are a frequent cause of airflow issues. When filters get dirty, they block air from passing through. This reduces the system’s ability to cool air. It’s essential to check and replace filters regularly. A clean filter helps maintain proper airflow and cooling efficiency.
| Symptom | Cause |
|---|---|
| Weak airflow | Dirty filter |
| AC not cooling | Clogged filter |
Obstructed Vents
Obstructed vents can also hinder airflow. Items placed in front of vents block air distribution. Check all vents for any obstructions like furniture or personal items. Ensure vents are open and unblocked to allow free airflow. This simple step can improve your AC’s cooling performance.
- Remove items blocking vents.
- Ensure vents are fully open.
- Check vent condition regularly.
Addressing these airflow blockages can help restore your RV AC’s cooling power. Keep your filters clean and vents clear for optimal performance.
Electrical Problems
Is your RV AC not blowing cold air? Electrical problems can often be the culprit. Let’s dive into two common electrical issues: blown fuses and faulty wiring.
Blown Fuses
Blown fuses are a common reason why your RV AC might not work. Fuses protect electrical circuits by breaking the connection if there’s a surge. If a fuse blows, the AC unit will stop working. Here’s how to check for blown fuses:
- Locate the fuse box in your RV.
- Identify the fuse connected to the AC unit.
- Check if the fuse is blown by looking for a broken wire or a blackened spot.
If the fuse is blown, replace it with a fuse of the same rating. Always keep spare fuses in your RV to avoid future issues.
Faulty Wiring
Faulty wiring can also cause your RV AC to stop blowing cold air. Over time, wires can wear out or get damaged. This can lead to poor connections and electrical issues. Here’s how to check for faulty wiring:
- Turn off the power to your RV.
- Inspect the wires connected to the AC unit.
- Look for signs of wear, fraying, or damage.
- Use a multimeter to check for continuity in the wires.
If you find any damaged wires, replace them or call a professional. Faulty wiring can be dangerous and should be handled with care.
By addressing blown fuses and faulty wiring, you can often fix your RV AC issues quickly. Always carry basic electrical tools and supplies in your RV for on-the-go repairs.

Credit: m.youtube.com
Compressor Issues
Your RV AC unit not blowing cold air can be frustrating. One major reason could be compressor issues. The compressor is vital for cooling. Let’s explore two main compressor problems: compressor failure and overheating.
Compressor Failure
Compressor failure is common in RV AC units. When the compressor fails, it cannot circulate refrigerant. No refrigerant means no cold air. Several reasons can lead to compressor failure:
- Electrical Problems: Faulty wiring or a blown fuse can disable the compressor.
- Refrigerant Leaks: Low refrigerant levels strain the compressor.
- Wear and Tear: Over time, components wear out and cause failure.
Regular maintenance can prevent compressor failure. Check wiring, refrigerant levels, and components.
Overheating
Overheating is another common compressor issue. An overheated compressor can stop working. Causes of compressor overheating include:
- Dirty Coils: Dust and debris on coils block heat dissipation.
- Poor Ventilation: Restricted airflow around the unit causes overheating.
- High Ambient Temperatures: Extremely hot weather puts extra stress on the compressor.
To prevent overheating, ensure proper ventilation. Keep coils clean and avoid using the AC in extreme heat.
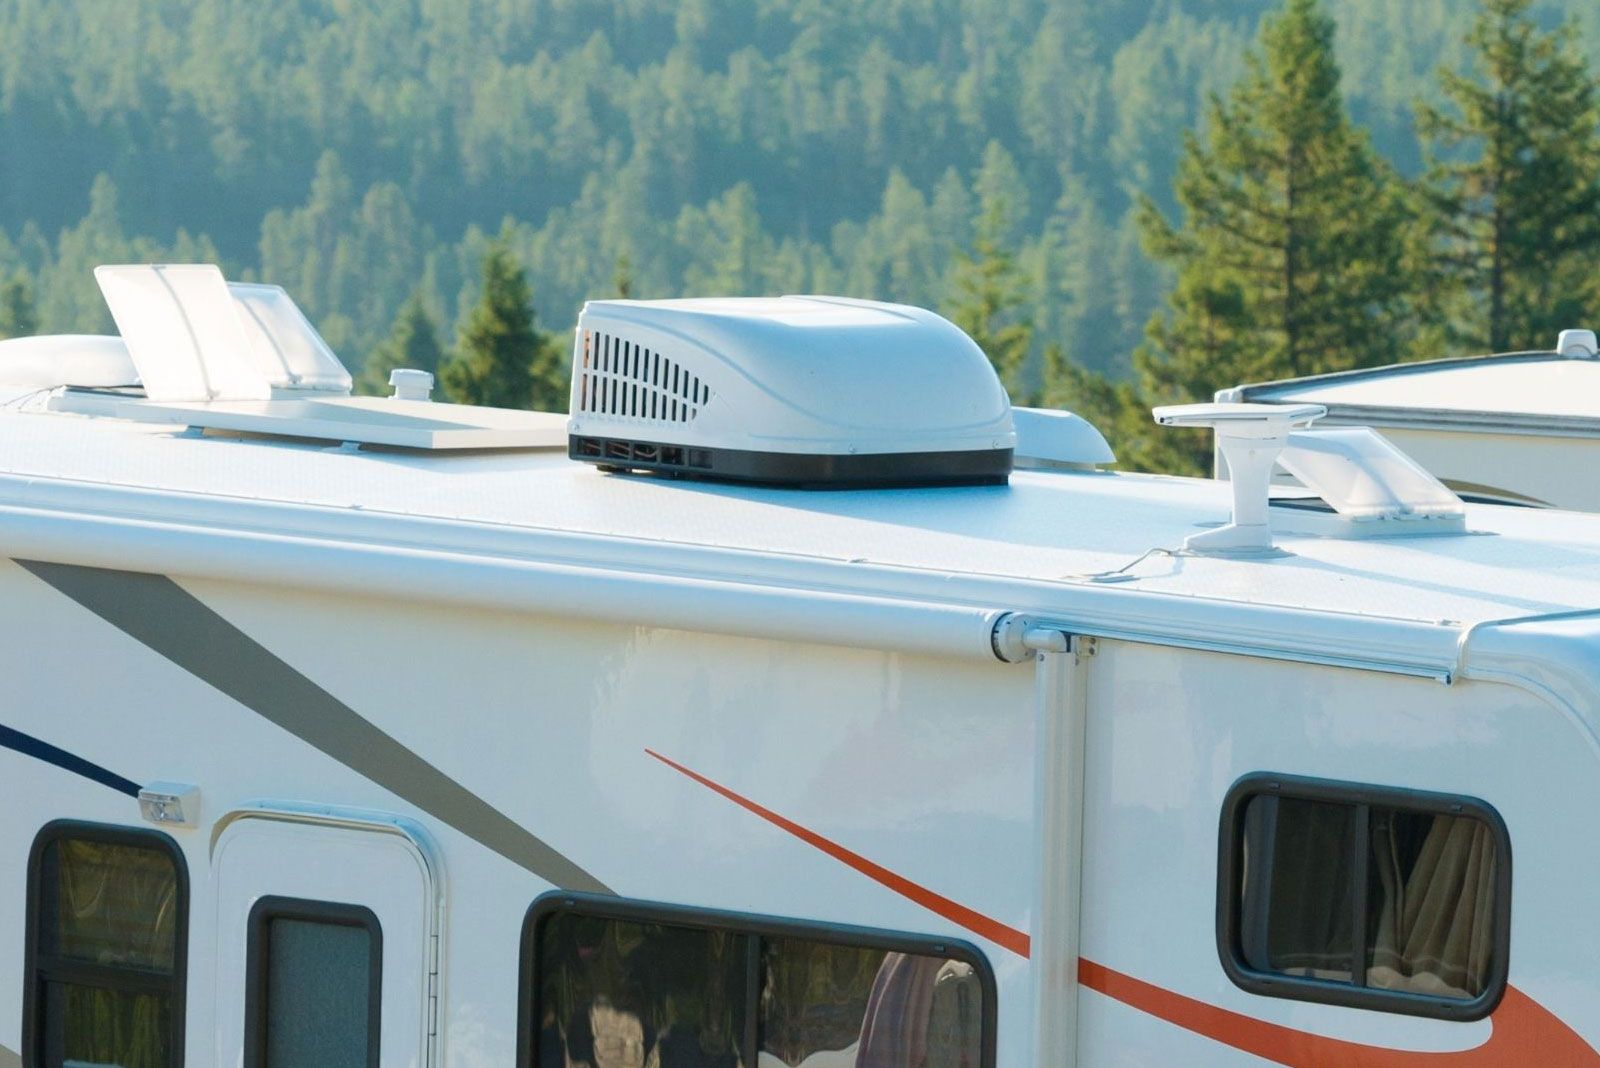
Evaporator Coil
The evaporator coil in your RV AC is a crucial component. It helps cool the air that circulates in your RV. If your AC is not blowing cold air, the problem may lie with the evaporator coil. This section will explore common issues such as frozen and dirty coils.
Frozen Coils
If the evaporator coil freezes, it cannot cool the air properly. Frozen coils usually happen due to poor airflow. This can be caused by a dirty air filter or a blocked vent. Without enough airflow, the coil gets too cold and freezes.
- Check if the air filter is dirty.
- Ensure all vents are open and unblocked.
- Inspect the blower fan to make sure it works.
If the coil is frozen, turn off the AC. Let the coil thaw completely before turning it back on.
Dirty Coils
Another common issue is dirty evaporator coils. Dirt and debris can collect on the coil over time. This dirt acts as an insulator, preventing the coil from cooling the air efficiently.
Here are steps to clean dirty coils:
- Turn off the AC and disconnect the power.
- Remove the outer casing to access the coil.
- Use a soft brush to remove loose dirt.
- Spray coil cleaner on the coil and let it sit.
- Rinse the coil with water and let it dry.
Regular cleaning can prevent dirt buildup. This ensures your AC runs efficiently.
Credit: evapolar.com
Condenser Coil
The condenser coil in your RV AC plays a crucial role. It helps release the heat absorbed from inside your RV. If your AC is not blowing cold air, the condenser coil might be the issue.
Blocked Coil
A blocked coil can stop your AC from working well. Dirt, dust, and debris can block the coil. This prevents the coil from releasing heat. When the coil cannot release heat, the AC cannot cool the air.
- Check the coil for dirt and debris.
- Use a soft brush to clean the coil.
- Ensure the coil is free from obstructions.
Damaged Coil
A damaged coil can also cause problems. Physical damage can occur from impact or corrosion. A damaged coil cannot release heat properly. This makes the AC less effective.
- Inspect the coil for any signs of damage.
- Look for bent fins or corrosion.
- If damaged, consider replacing the coil.
Ensuring the condenser coil is in good condition is key. A clean and undamaged coil helps your AC blow cold air effectively.
Thermostat Calibration
Is your RV AC not blowing cold air? The problem could be with your thermostat. Proper thermostat calibration ensures your RV AC works efficiently. Calibration helps the thermostat read the correct temperature.
Incorrect Settings
Incorrect thermostat settings can cause your RV AC to malfunction. Ensure the thermostat is set to cooling mode. Sometimes, the thermostat might be set to heating mode by mistake. Double-check the temperature setting. The set temperature should be lower than the room temperature.
Also, make sure the fan setting is appropriate. The fan should be set to “auto” or “cool” mode. Incorrect fan settings can affect the cooling process.
Calibration Steps
Follow these steps to calibrate your thermostat:
- Turn off the power to your RV AC unit.
- Remove the thermostat cover carefully.
- Locate the calibration screw inside the thermostat.
- Use a small screwdriver to adjust the calibration screw.
- Turn the screw gently clockwise or counterclockwise.
- Reattach the thermostat cover and turn the power back on.
- Set the thermostat to the desired temperature.
After calibration, monitor the temperature for a few hours. Ensure the RV AC is blowing cold air properly.
Professional Help
Sometimes, your RV AC not blowing cold air requires expert attention. DIY fixes can only go so far. Recognizing when to call in a professional can save time and money. This section will guide you on when to call a technician and discuss cost considerations.
When To Call A Technician
- Strange Noises: If your RV AC makes weird sounds, you need help.
- Leaks: Water or refrigerant leaks are a sign of a serious problem.
- Electrical Issues: Flickering lights or frequent tripping of breakers require a technician.
- Persistent Problems: If the AC is not blowing cold air after basic checks, it’s time to call a pro.
Cost Considerations
Understanding the cost helps you budget for professional help. Below is a table summarizing common costs:
| Service | Cost Range |
|---|---|
| Basic Inspection | $50 – $100 |
| Refrigerant Recharge | $100 – $200 |
| Electrical Repairs | $150 – $300 |
| Compressor Replacement | $300 – $700 |
Note: Prices vary by location and service provider.
Consult with multiple technicians for the best price and service quality.
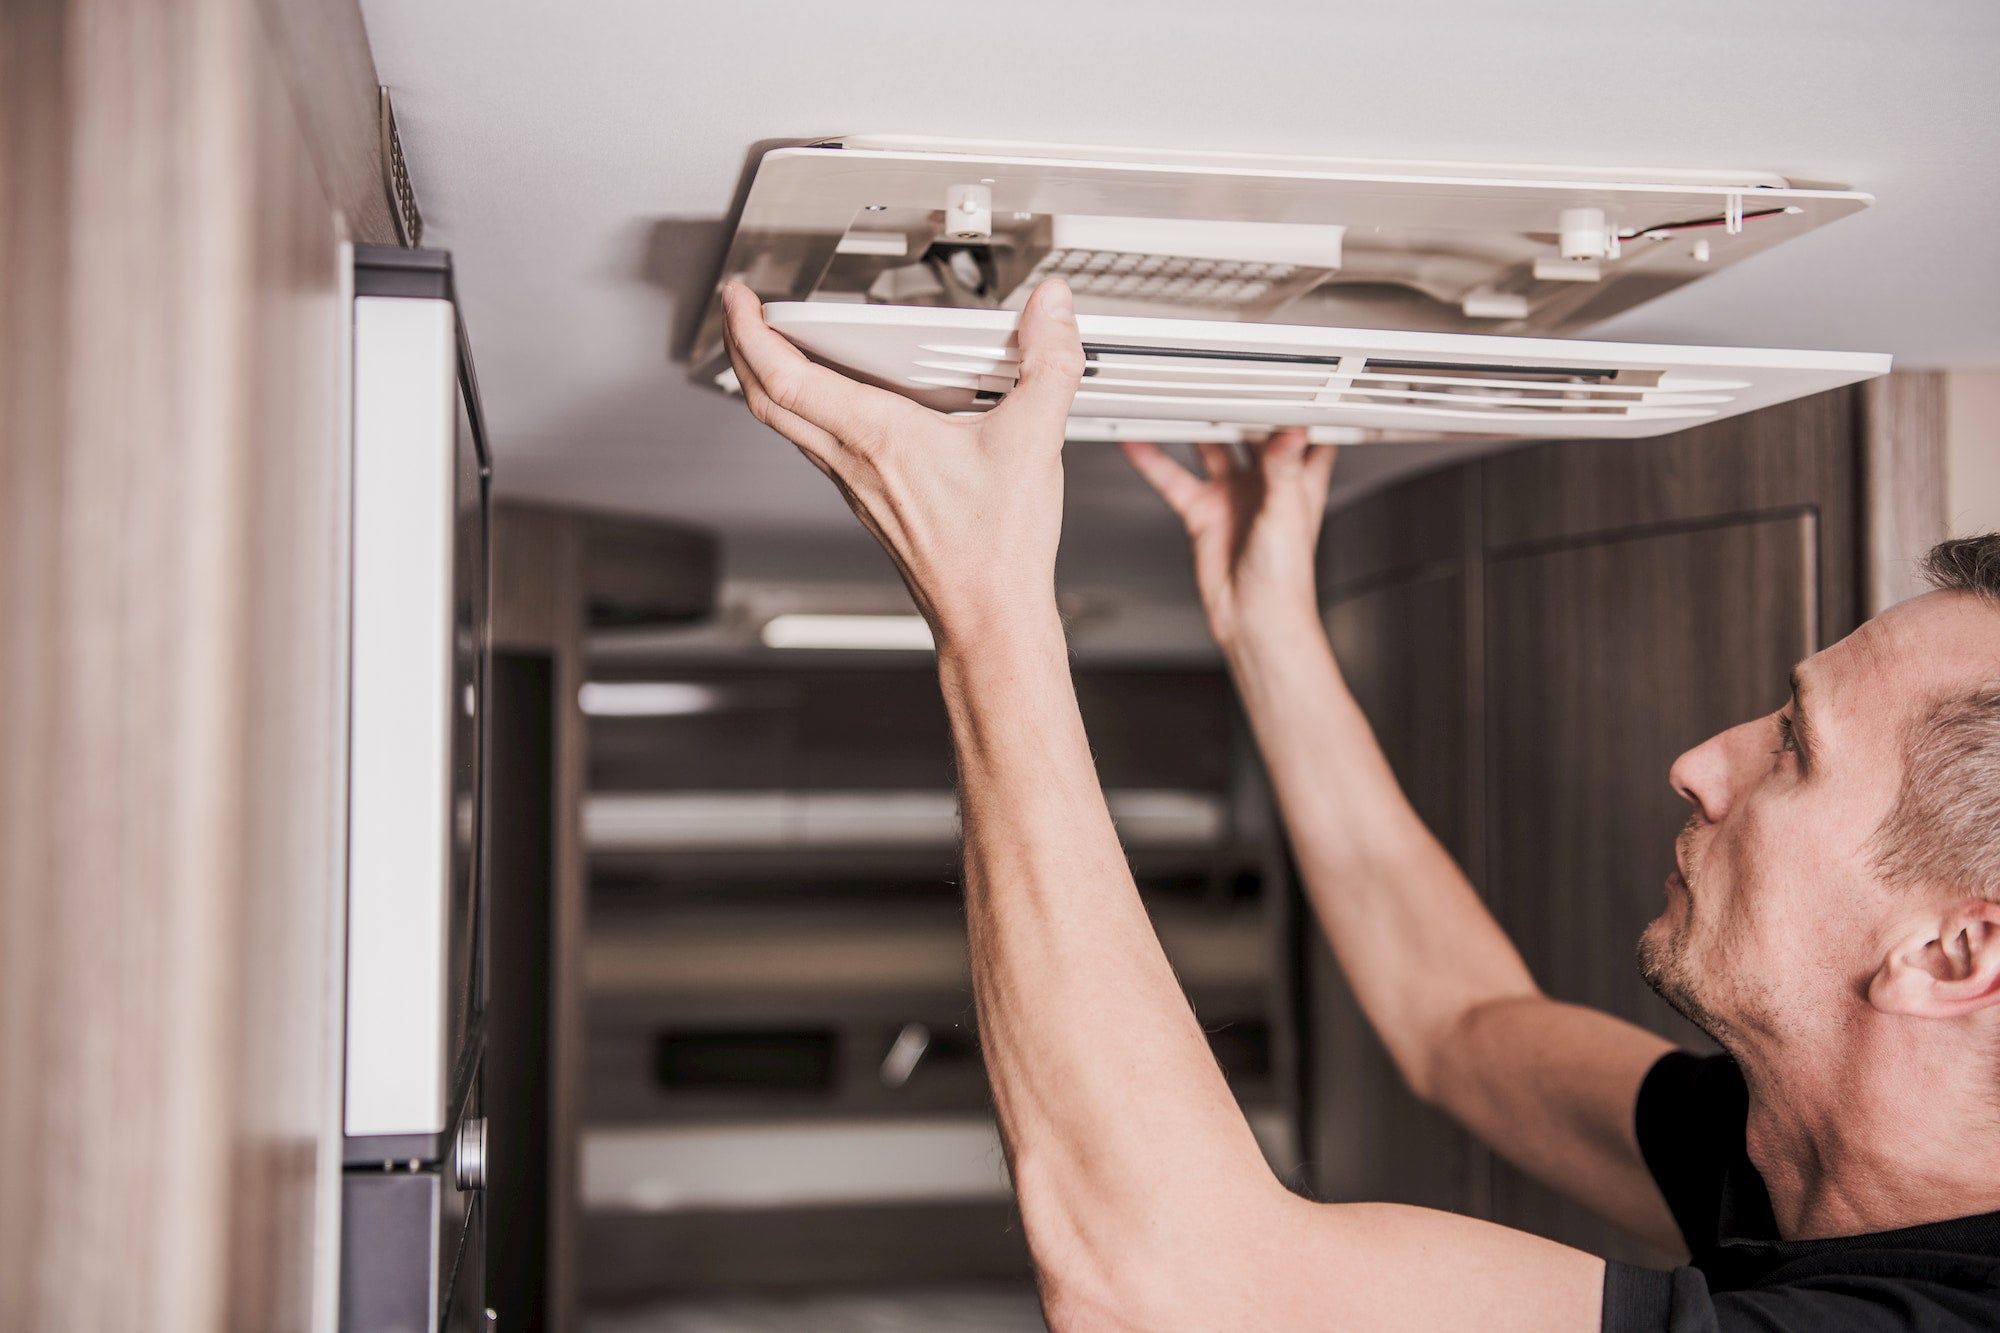
Credit: evapolar.com
Frequently Asked Questions
Why Is My RV AC Running But Not Blowing Cold Air?
Your RV AC might not blow cold air due to low refrigerant, dirty filters, or a faulty compressor. Check and clean filters regularly. Ensure proper refrigerant levels. Consult a technician if problems persist.
Why Is My AC Running But Not Cooling?
Your AC might run but not cool due to low refrigerant, dirty filters, or a malfunctioning compressor. Check for blocked vents or thermostat issues. Regular maintenance can prevent these problems.
How Do You Reset An RV Air Conditioner?
To reset an RV air conditioner, turn off the unit and disconnect the power. Wait 5 minutes, then reconnect. Restart the unit.
Conclusion
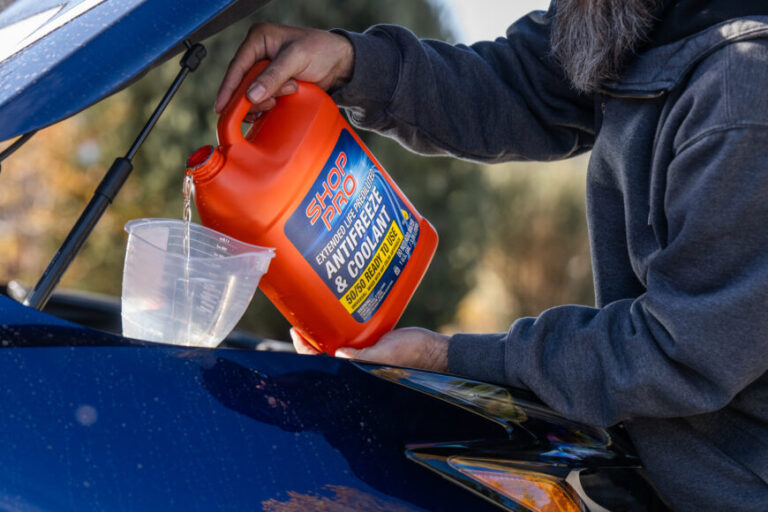
Understanding why your RV AC isn’t blowing cold air helps maintain comfort. Regular maintenance and troubleshooting can resolve many issues. Check filters, coolant levels, and electrical connections. If problems persist, consult a professional. Keeping your RV AC in top shape ensures cool travels.
Enjoy your adventures with a reliable cooling system.

